The Colosseum is easily one of the most recognisable landmarks in Italy. Outlined against blue skies, it looms over Piazza del Colossel, imposing and inviting in equal measures. Home to gladiatorial games, the Colosseum’s history is steeped in blood.
The amphitheater is a huge structure, capable of holding around 50,000 – 87,000 people and widely known for displays of public combat and slaughter of gladiators and animals for public entertainment. It’s one of those places that you absolutely have to visit if you are in Rome and Wandering Beeb’s love of all things resembling Roman ruins meant that it was one of the first places on our hit list when we arrived in Italy.
We had booked on to the evening tour in advance and paid the extra fee to take a trip down to the bottom floors, which aren’t always included on the standard visit. It’s well worth booking ahead as you get to skip some of the line (which can be fairly long) and are guaranteed a place on the limited evening tour.
Inside, the structure feels bigger than its outside appearance and it’s much easier to make comparisons to more modern arenas, imagining crowds of people gathered to watch the latest entertainment.
From the bottom of the arena floor, looking up created a feeling of dizziness as each layer of the structure twisted away towards the sky. The layers underneath the main performance area were a warren of corridors, lined by the ruins of the cages where fighters and animals were held until their time on the arena floor. It was a very different view from the top of the arena, with huge arches creating a stunning silhouette.
We learned on the tour that they flooded the arena on occasion to stage boat shows and battles – something I wasn’t aware of. It must have been an incredible site to watch – imagine that happening in an arena in today’s time – it would take huge mechanics to make that happen!
The tour was well organised and gave us plenty of time to wander round the ruins. Standing on the top floor, we could see over to the ruins of the Roman fort, giving a helicopter view of the site.
Today, the arena is sometimes used for concerts and opera performances. Unfortunately, on the day we went, there were no performances taking place, although it’s something that we’d definitely go back to see.
Tickets into the Colosseum can be booked here. An entrance ticket and the underground tour usually cost around £25 per person.
When you are travelling to lots of different places, or even just getting out and about on local hikes, one of the most important things to consider is what you put on your feet.
Your feet are (hopefully) going to carry you many miles and getting the right shoes is one of the most important things that you can do.
My first pair of proper walking shoes for travelling (excluding the big clunky ones that I had in school for an activity weekend trip) was a pair of Timberland Ledge Sport shoes. They cost around £50 and were a good sturdy shoe.
Lightweight and great for hiking in hot weather, they did the trick as a good, entry level pair of hiking shoes. As they were so light, they were great for not adding additional weight to any baggage allowance. With Vibram soles, they had good grip on slippy or rock surfaces, giving a little bit of extra traction when needed. Although they were incredibly comfy (walking on a cloud is the phrase that springs to mind), they are probably best for sticking to walks along well-defined trails as their soles aren’t as hard wearing or chunky enough to cope with anything too rocky.
I found that after a year or so, the soles had worn down quickly and the grip on the bottom was almost completely gone. They were also fairly low cut shoes, which didn’t deliver on the ankle support. If you are planning to walk around in places with lots of uneven ground, these are not the shoes for you. That being said, I still have my original pair and will drag them out on occasion for walks around local parks. You could say that this pair are in semi-retirement.
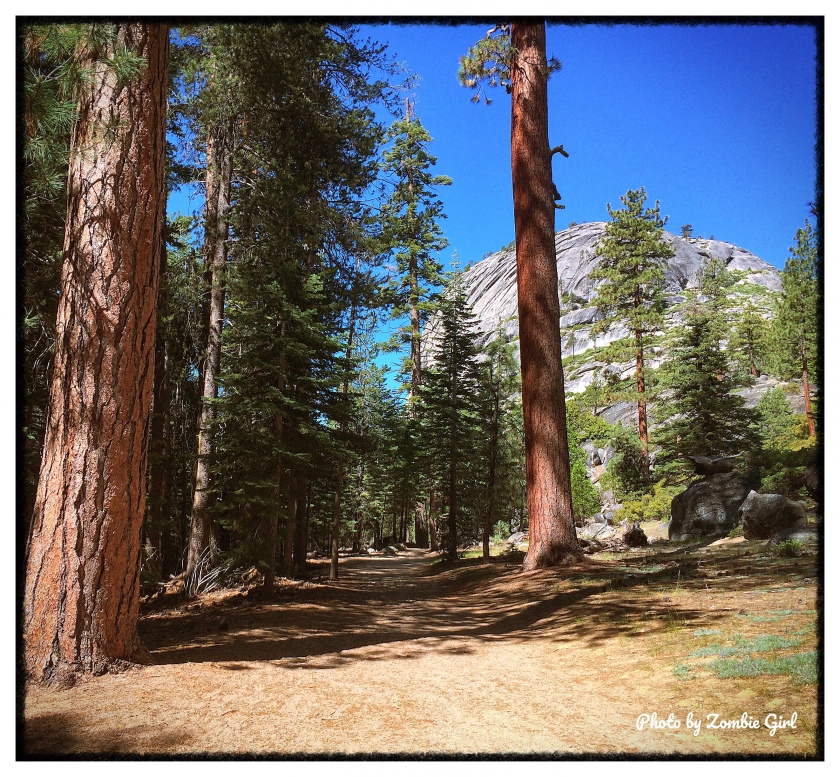
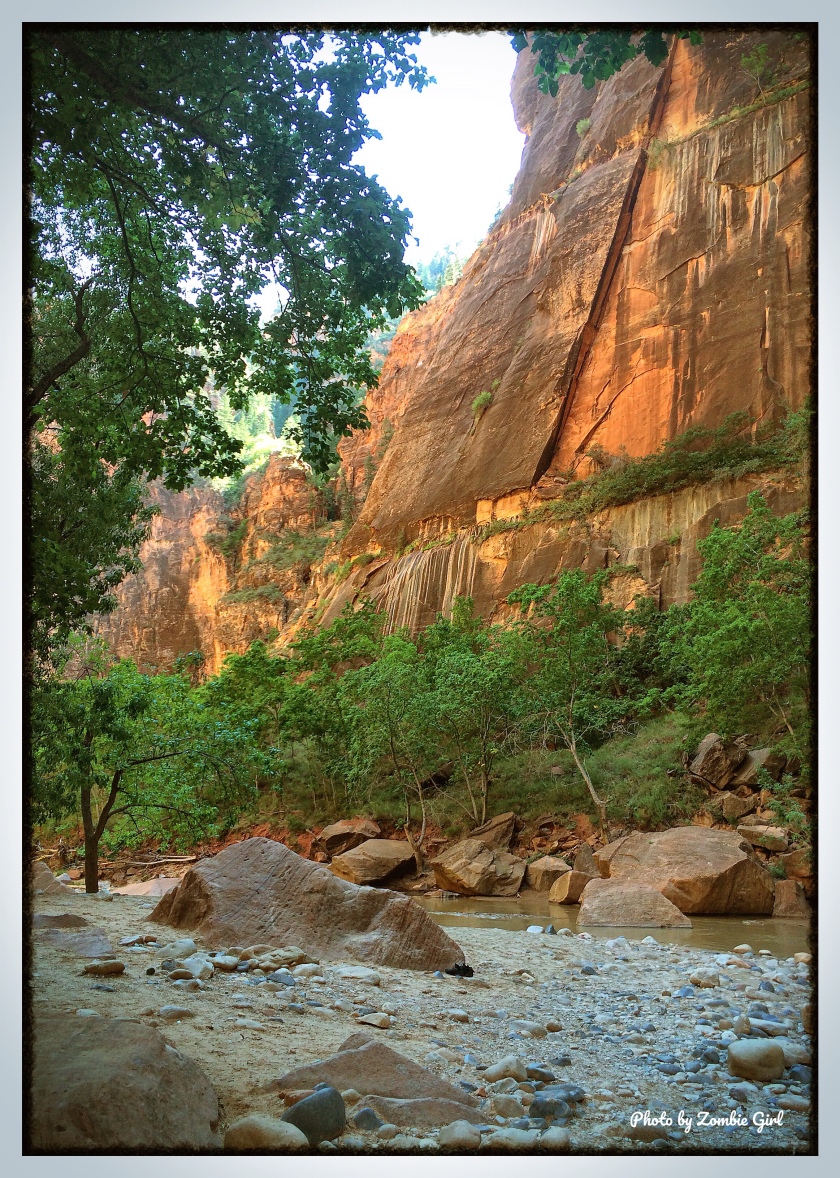
My current ‘everyday’ hiking boots are a pair of Anatom V2‘s. This was a brand that I hadn’t really heard of until I started to do my research. Located in Scotland, they test their boots on the local hills and fells, making them a sturdy choice for anyone aiming to do their walking on rough, uneven ground. The high supports on these boots have saved me from going over on my ankle too many times to count – something that was invaluable on the rocky paths through Zion National Park. You can read about our adventures in Zion here.
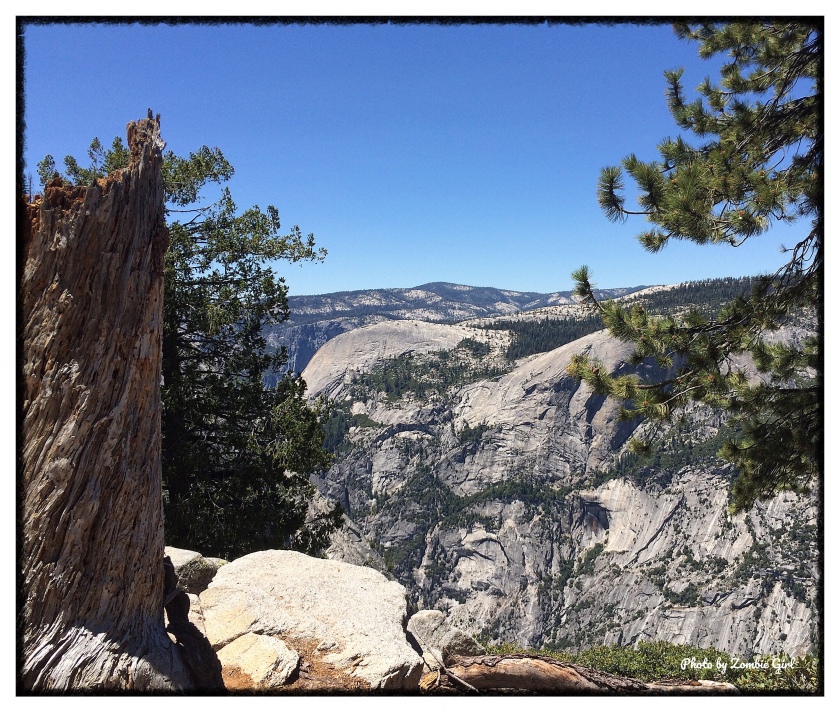
Again, these boots have Vibram soles which were a little thicker than my last pair. This meant that the grip has stayed fairly deep and they were perfect for hiking up the steep granite in Half Dome, Yosemite – even when it was covered in water and slippy as hell!
It’s useful to note that these boots did take some time to wear in. They were fairly stiff across the toes (great for protecting the feet but not so great for bending toes!) and they took some time to really feel comfortable. They are fairly lightweight boots and this means that they are travel friendly.
Wandering Beeb favours the SCARPA R-Evo GTX boots. When I asked him what he liked in particular about them, I was told, “they are good for walking in”, which I took to mean that they were comfortable! (He’s a man of few words!). He did say that his toes sometimes go numb when he walks for some distance, but then again, he has a back problem and he is known to have a numb toe when sat on the couch so I don’t think that we can blame the boots for that!
Sometimes, an everyday pair of hiking boots aren’t always suitable for when the weather changes and the temperature drops. Hiking in snow or ice can be a challenge which requires a specific bit of kit. This brings me on to my favourite pair of hiking boots: my North Face Chillkat II Snow Boots. Let’s get one thing clear- these boots are heavy!! They are very chunky and your suitcase will not thank you for packing these on your next trip – it would be far better to wear them on the plane than let them add to your precious luggage allowance. The weight of these boots is probably their only down-side. These boots are incredible! Firstly they are lined with an internal sock which is fairly thick and serves two main purposes: the first being to cushion feet on long walks. I mentioned walking on a cloud earlier – this is like walking on a cloud, on a trampoline, with pillows on your feet. They are that comfy.
The second purpose to the inner lining is to provide a thermal layer to keep heat in, which works perfectly, making feet feel toasty on the coldest of hikes. They are actually designed to withstand temperatures of -32c and although I’ve never faced such extreme temperatures, I can believe that these boots would stand up to the challenge, given how warm they are.
Vibram soles create a hardy, non-slip grip on the bottom of the boots giving great traction on icy ground. I actually dig these boots out each winter to wear on my walk into work – they make easy going of the ice / snow and keep me warm on my commute. The high-cut, thick padding on the top of the boot helps to keep warmth in and creates a cushioned edge, preventing any rubbing on long walks. The bottom of these boots is almost like a Wellington boot – great for wet weather walking. These boots have made sure that I’ve stayed warm, dry and safe on many snowy hikes (read about our hike in the snow-filled Lake District here) and after 4 years, they are still going strong.
Choosing a new hiking boot shouldn’t be difficult but there are some things you should consider. Our top tips might be handy to keep in mind:
Think about what you will be using the hiking boot for – cold weather walking? Snow and ice? Summer hikes? Trails or rocky surfaces? Know where you will be mostly hiking and then buy your boot to suit the terrain.
Think about comfort not style – I’m a bit of a magpie and often aim for the pretty item, however I’ve learned that the pretty boots in the shop might not be very comfortable after five hours of walking. Trust me, comfort must come first!
Look out for Vibram soles – nothing else really compares and you’ll be thankful for it when it stops you slipping on rocky paths
Where will you be using your boots? If you are planning to travel by air, lightweight boots might be more luggage friendly.
Try your boots on in a shop first before ordering. Good hiking shops often have little ramps and different terrain on which to try out your boots. This gives you a good sense of how the boot performs on different types of ground. Even if you are going to buy over the internet, try and visit a shop to try them on first.
In a change to your regular reading, Wandering Beeb is writing today’s blog instead of Zombie Girl; taking a look at the hotels we stayed at in Vegas. I’m usually the guy behind the camera, so it might be a bumpy ride with me behind the keyboard!
The first time we travelled to Vegas (back in 2010), it was for the last part of a long road trip and we decided to treat ourselves, given that we’d been camping for a fair amount of time (the lack of showers also meant it was better for everyone if we could actually clean up).
During the planning phase of our trip, one of the group who’d already been to Vegas suggested we’d be fine booking a hotel when we get there, rather than planning ahead and he wasn’t wrong – there was lots of choice and at fairly affordable prices. After looking around, we chose Planet Hollywood as our home for the week. At the time it was one of the newer hotels on the Strip (in fact they were still building one of the towers). This meant that the hotel rating wasn’t as high as the more established ones and therefore, nor was the price. We had to wait a little while for a non smoking room to be available, which gave us a bit of time to sample some of the hotel and explore our surroundings.
Planet Hollywood and the Miracle Mile
As we wandered through the casino, we noticed a lot of dancers on tables, so not necessarily the most appropriate hotel for a family. For our party though, this was perfectly fine(!). Being a fairly new hotel, it was very modern and clean. Compared to some of the hotels we’d been to in Vegas, there wasn’t an over bearing smell of cleaning fluid in the carpets making it difficult to breathe (I’m looking at you Treasure Island).
It was an odd feeling to be surrounded by the casino’s artificial light and the smell of tobacco indoors, as we come from the UK where you’re not allowed to smoke in public buildings.
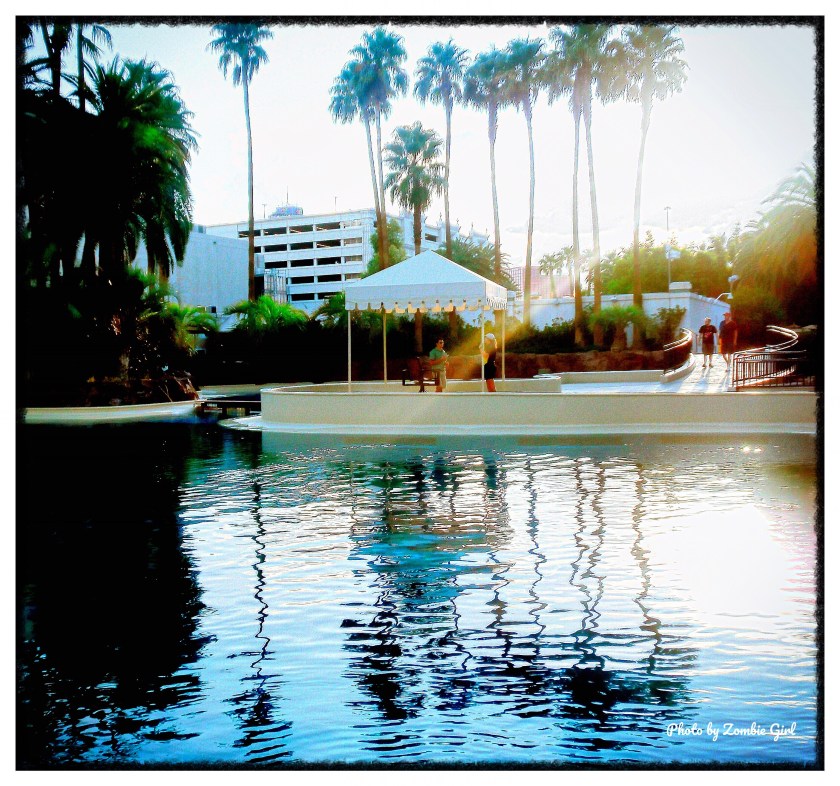
Planet Hollywood also hosts the Miracle Mile; a whole promenade of shops for, you guessed it, a whole mile. Plenty to choose from to cater for most tastes and some really good gear at quite cheap prices – remember to leave space in your suitcase! The pool area, although small, was really relaxed and fun. Music playing and sun shining, it was a really relaxing place to chill out and take in the sun.
The pool area at Planet Hollywood. It had a really relaxed feel, with music and a snack bar.
When we finally reached our room, it was plenty big enough for four of us to share two double beds, with lots of space to store our gear (including sleeping bags and tent). Throughout the room, there was a celebrity theme, in keeping with the name. Somewhat randomly, one object in particular sticks in my memory: the glass coffee table with Sammy Davies Jnr’s shoes inside. Makes you wonder what other star-studded items were in the other rooms. The pièce de résistance of the room was the view from the window of the Bellagio Fountains across the road. We definitely spent some time watching the water fly from that window. My lasting view of the Planet Hollywood Hotel (at least on that first occasion) was that for the price, we got a good deal. The room was clean, spacious and we had a cracking view to boot.
The second time our group visited Vegas, we took the decision to split up our hotel stay between 2 locations. Once again, we knew we were going to be spending a lot of time camping and so we wanted to treat ourselves at the end of the trip. We booked Planet Hollywood for the second part of our stay (this time booking early online) and (based on prices and other people’s feedback) we chose The Mirage for the earlier part of our stay.
Mirage pool which also had a bar and secret garden!
Walking into the Mirage was much more impressive that walking into Planet Hollywood. There was marble everywhere and a huge fish tank dominated the lobby. It was a very striking entrance and everyone seemed to be fairly dressed up, creating an air of expense. The hotel boasted a much larger pool than Planet Hollywood and their own mini zoo (Siegfried and Roy’s Secret Garden and Dolphin Habitat; containing dolphins, white lions, white tigers and leopards). The room itself was clean (barring one dirty pillow, which the staff changed promptly) and spacious. Despite the attractions and the larger pool, it didn’t quite match up to the Planet Hollywood. It was considerably cheaper for a room in the Planet Hollywood, which was more modern and up to date. The biggest selling point, however, was the atmosphere. Planet Hollywood was far more relaxed. We found the Mirage to be a little pretentious and a bit more of a mixed bag in the make up of the guests (the looks that Zombie Girl’s hiking boots attracted when we arrived were less than favourable).
The third time we travelled to Vegas (I know, we like Vegas, what can I say!!), we had a new member of the group with us and fancied trying somewhere different. On our previous trip we’d seen the Cosmopolitan and Aria hotels being built pretty much opposite Planet Hollywood. The photos looked good and the cost of a joint room in the Cosmopolitan was almost the same as Planet Hollywood. When we first walked in the lobby, we were absolutely blown away. It looked liked they had spared no expense when decorating as we were greeted by a massive chandelier with a bar on the inside. The sleek, video-screened reception area was eye-catching and there was more than a hint of James Bond elements in the decor throughout the whole building. This was done in a really classy way, using subtle references to 007 rather than an in-your -face approach, which could easily have been cheesy.
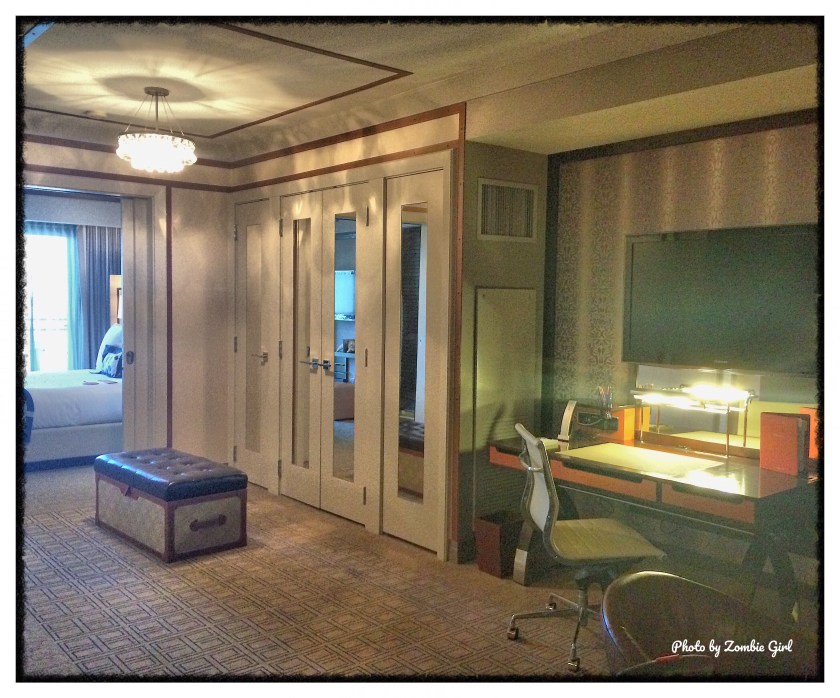
Huge value for money at the Cosmopolitan! Desk area, seating and dressing area, bedroom and bathroom – topped off with a balcony view.
The room at the Cosmopolitan was impressive. It was much bigger that we’d previously experienced and definitely had a more luxurious feel to it. The quality of the finish, the classy decor and the excellent sound proofing were all nods to a well designed and beautifully executed hotel room. On subsequent trips, we have used the Cosmopolitan again and found it to be a stunning room each time. On our last trip, we did splurge a little to ensure that we had a balcony view to enjoy watching the Bellagio Fountains at night and the amazing heat in the day.
Cosmopolitan bedroom with balcony view.
Whilst not as big as a lot of the other casinos, there was still more than enough areas to gamble, eat and shop. The pool was beautiful, with the usual mix of sun loungers and cabanas (although these cost a fair amount – probably only worth considering if you win big on the slot machines!).
The pool area at the Cosmopolitan.
Overall, places to stay in Vegas vary greatly but it’s really important to get a sense of what you want from your temporary home. Planet Hollywood was great for groups, younger couples and a cheaper, more relaxed stay. The Mirage was much more subdued and aimed at the ‘posher’ end of the market. The Cosmopolitan was luxurious and classy but didn’t feel at all pretentious – for us, it was a perfect blend of classic Vegas and modern sleek. It’s the one that we always recommend to friends.